柠檬派
- 烘焙

- 甜味

- <60分钟

- 初级入门

< 此配方为10寸模具 > 操作步骤可观看本期视频内容。
展开
柠檬派营养建议
-
含糖量 18.27克高血糖 尽量不吃
-
高血脂 尽量不吃
-
高血压 控制少吃
-
减肥 尽量不吃
-
儿童 控制少吃
柠檬派的食材2人份
- 低筋面粉220克
- 黄油150克
- 糖粉160克
- 鸡蛋黄2个
- 鸡蛋4个
- 淡奶油380毫升
- 柠檬汁100毫升
- 柠檬皮屑14克
展开
柠檬派的做法
1

150克黄油软化后,加入1个蛋黄和50克糖粉,混合后用打蛋器打发至蓬松
2

低筋面粉过筛倒入黄油混合物中,用手揉拌均匀,揉成光滑的面团,用保鲜膜包好,将面团放入冰箱冷藏30分钟
3

取出冷藏好的面团,放在两张保鲜膜的中间,用擀面杖擀成圆形的面片
4

撕去保鲜膜,将面片小心地铺在派盘里,用手轻轻把派皮贴合到派盘底部及派盘侧壁,然后将多余的派皮修剪掉
5

用锡纸包一些豆子放在派皮上,防止烤派皮的时候鼓起
6

预热烤箱180度,派皮放在中下层,上下火,烤25分钟,直至表面金黄时取出,用小刀削平不均匀的派皮边沿
7

淡奶油380ml和柠檬汁100ml,柠檬皮屑14ml,110克糖粉,1个蛋黄和4个打散的鸡蛋倒入大碗中,用打蛋器搅拌均匀.
8

将派馅倒入派皮中,放入烤箱中层,上下火160度(提前预热烤箱),烤35分钟左右,直到派馅完全凝固,轻轻摇动派馅中心没有流动感即可出箱
9

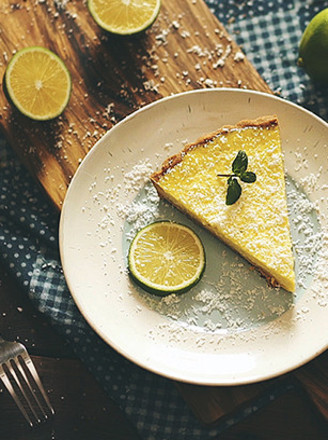
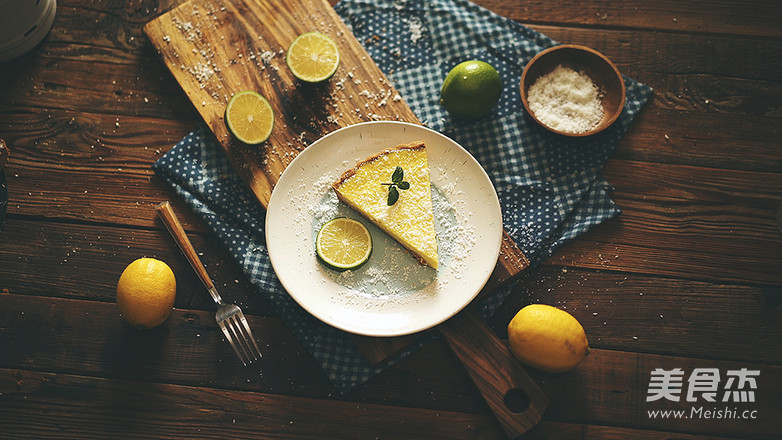
柠檬派出箱冷却后,撒上点椰蓉,制作完毕!
成品图
柠檬派的烹饪技巧
美食爱好者,俩猫的蜀黍
【本期视频】http://v.youku.com/v_show/id_XMTUwNTkyODA0MA==.html
版权声明:
除非特别标注,否则均为本站原创文章,转载时请以链接形式注明文章出处。
上一篇上一篇:酥炸铁勺喇
下一篇下一篇:一款很有颜值的奶茶!金凤梨雪绒奶茶
相关文章

健康美味红枣南瓜发糕
下午茶 29


快乐的猫
评论列表
真的是厉害啊,爱了爱了
2021年06月15日 13:07