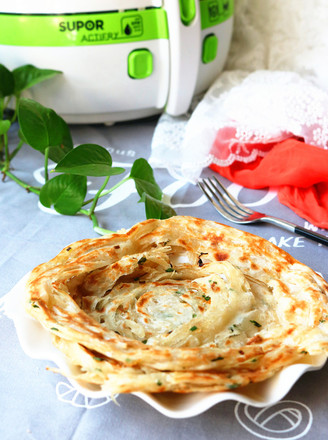
烫面葱油饼
- 烤

- 其它口味

- <15分钟

- 中级掌勺

国民小吃葱油饼,可以根据口味做成任意自己喜欢的,椒盐,孜然,最简单就是原味,依然可以吃到香香的葱香味。 这次用了烫面的方法来做,饼会更为柔软些,因为翻炸锅的温度不可调,只能延长烤的时间,会造成饼微微发干。 但成品依然很棒,酥脆的感觉。
展开
烫面葱油饼营养建议
-
含糖量 26.04克高血糖 尽量不吃
-
高血脂 控制少吃
-
高血压 控制少吃
-
减肥 控制少吃
-
儿童 控制少吃
烫面葱油饼的食材2人份
- 面粉200克
- 精盐2克
- 开水80克
- 水60克
- 小葱1棵
- 孜然2克
- 花生油30毫升
展开
烫面葱油饼的做法
1

面粉加入盐,混合均匀,堆在揉面垫上,中间整理出一个坑
2

先加入75克开水,不需要用刚烧开的,大约85度左右的即可,我是从暖瓶里倒的水
3

用刮刀整理成团,不要用手,小心烫,成团后再酌情加入适量冷水
4

最终变成了柔软而光滑的面团,多揉一会,面团的延展性会变得很好,擀的饼最终也容易分层,我是移到面包机里揉了10分钟
5

揉好的面团分成2份
6

取一个面团,擀成大并且薄的饼,越薄越好
7

撒上葱碎和孜然粉,加一些花生油,抹均匀就行
8

抹均匀的饼卷起来,两手油我就没拍照,卷好的按扁一些,用刮刀从中间分成两条
9

一次卷起来,尽量切口向上
10

擀成合适的大小
11

翻炸锅的烤篮里刷一层又,放入饼胚,表面记得再刷一些油
12

烤篮放入锅里,盖上盖子,设置时间10分钟,启动锅具
13

中间可以打开观察一下,适当再刷一些油,可以翻面
14

中间快熟的时候,用筷子夹一夹饼,促使饼分层
15

多翻面,注意观察表面上色
16

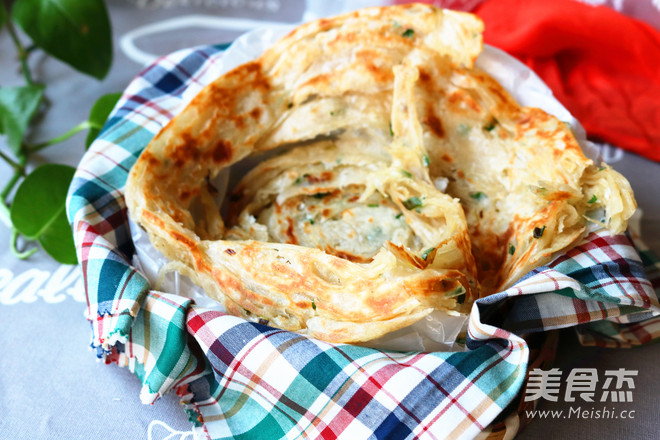
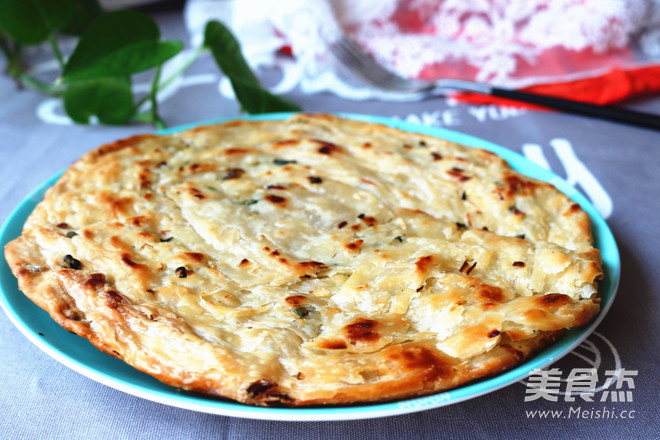
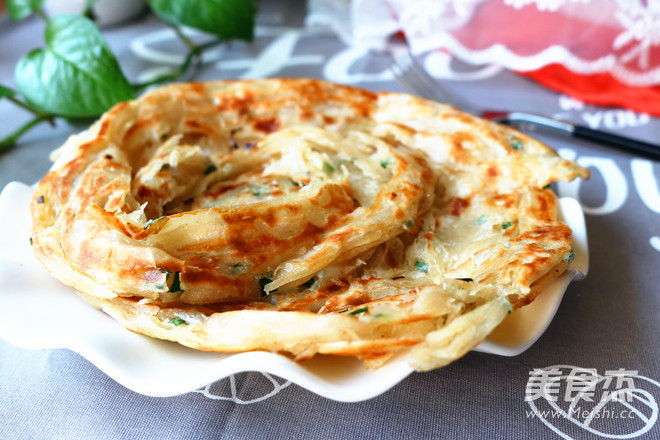
香脆多层的葱油饼,这次是孜然味的
成品图
烫面葱油饼的烹饪技巧
不要全部用开水,不然面团就会发粘
面团一定要揉到位,擀的越薄越好,分层才会多
面团软一点比较好,饼才会柔软
普通的面粉即可,就是家里蒸馒头的中式面粉
版权声明:
除非特别标注,否则均为本站原创文章,转载时请以链接形式注明文章出处。
烫面葱油饼标签:烫面葱油饼的做法 烫面葱油饼的家常做法 烫面葱油饼 烫面葱油


快乐的猫
评论列表
真的是厉害啊,爱了爱了
2021年06月15日 13:07